Key Takeaways:
Asphalt pavement is well-known for its long-term resilience and durability, and most state and federal agencies prefer it.
The first step in any asphalt installation project is demolition, which involves removing all existing pavement and debris from the area where the new asphalt will be installed.
The next step is to prepare the area where the asphalt will be laid by grading it and ensuring it slopes properly to avoid pooling water.
A sub-base must be prepared for stability and reinforcement before applying a binder layer, followed by the new asphalt surface.
Finally, contractors must ensure smooth transitions between old surfaces by installing butt joints.
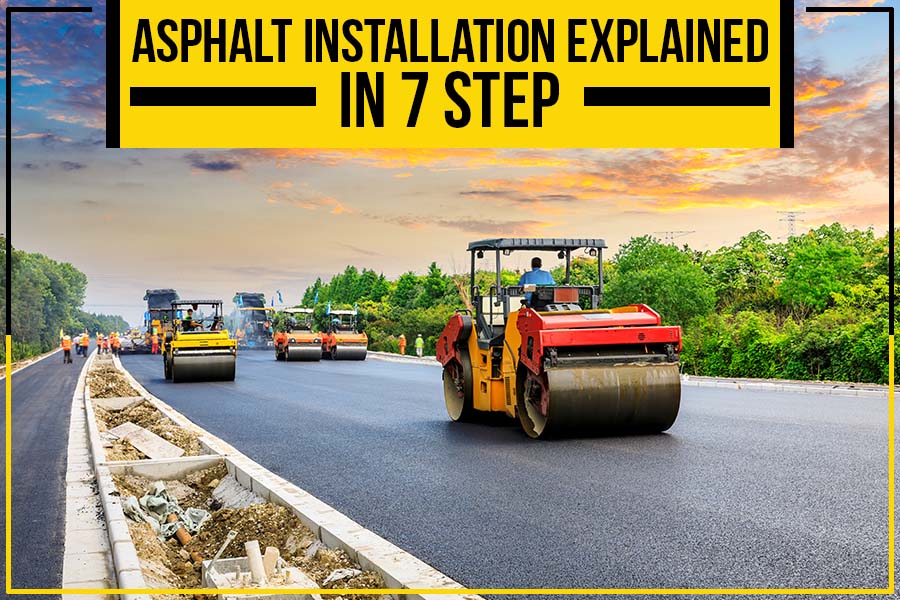
Pavement installation is a complex process that requires understanding many different aspects. From demolition to the final coat of asphalt, several steps are involved in ensuring that you have a smooth, new surface. Whether you’re a homeowner looking to enhance your driveway or a commercial property owner who needs to replace aging pavement, here’s what you need to know about asphalt installation.
Why Should You Use Asphalt Pavement?
Asphalt pavement is well-known for its long-term resilience and durability. Asphalt is the chosen paving material for most paved areas due to its durability. Most state and federal agencies prefer asphalt pavement due to its durability and dependability. If properly installed, it can survive for twenty to twenty-five years before needing to be replaced.
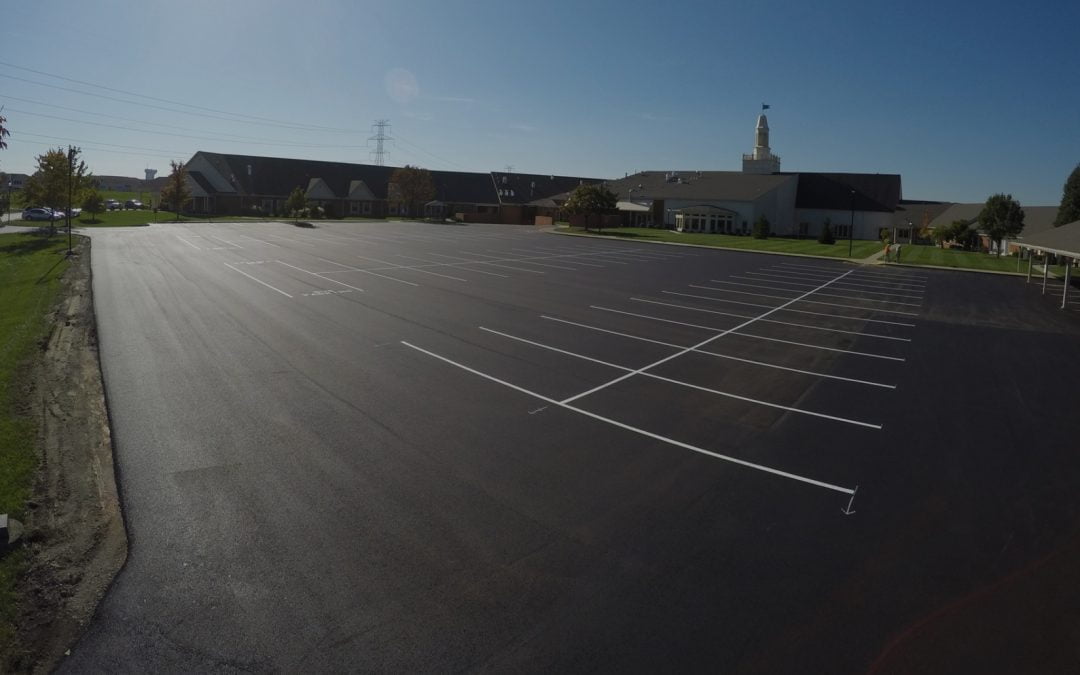
Asphalt pavement has several applications, including parking lots, roads, highways, and runways. Asphalt is the most often recycled substance in the US. As a result, asphalt pavement is the logical choice for a long-lasting, reusable material for these applications.
Step-By-Step Guide for Asphalt Installation
Step 01: Demolition and Removal of Existing Asphalt
The first step in any asphalt project is demolition. This involves removing all existing pavement, such as asphalt, concrete, or pavers, and debris from the area where the new asphalt will be installed. Depending on the size of the project, this could involve anything from breaking up concrete with a sledgehammer to using heavy equipment like bobcats and excavators. Removing all debris is crucial so it won’t interfere with the installation process. The existing asphalt surface is recycled and used to generate the new mixture to reduce waste as much as possible.
Step 02: Base Preparation (Grading and Sloping)
The next step is to prepare the area where the asphalt will be laid. Before application, the area must be graded and inclined to maintain the structural integrity and strength of the new asphalt pavement and manage water drainage.
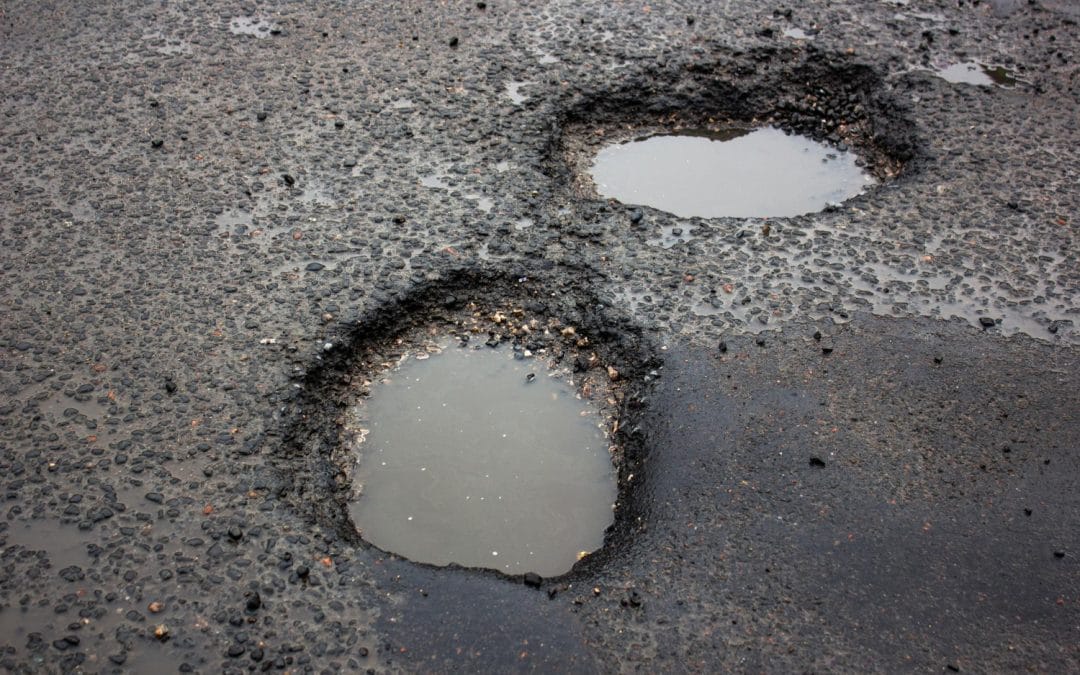
Standing or pooling water is your asphalt pavement’s biggest enemy, causing plenty of potentially costly problems, so take every measure to minimize water pooling. Grading makes the asphalt porous so that water can drain properly. The water runoff direction is then tested to discover which way the water drains. Based on our results, the next stage is to slope the asphalt suitably by carefully placing mounds to produce a quarter-inch slope, which is perfect for drainage and structural strength.
Step 03: Sub-Base Preparation
Starting with a stable sub-base is essential to ensure that your asphalt pavement can survive external elements, such as inclement weather, heavy vehicular traffic, vehicular fluid leaks, and so on. The sub-base is a barrier that protects your asphalt pavement from frost in the winter and offers additional reinforcement and structural support to keep it from collapsing under strain or producing dips and depressions. Compaction contributes to a smooth and level surface while holding the sub-base in place, making it a necessary process that should not be overlooked.
Step 04: Finding Weak Spots
Once the sub-base has been placed and compacted, it is critical to evaluate it for any soft or weak regions that might threaten structural integrity and substantially limit its lifespan.
As a result, our professional contractors spend time proof rolling the sub-base. Proof rolling is going over every square inch of the sub-base surface with a massive quad-axel dump truck to evaluate its strength and flexibility. If some areas of it start to move or dip, we know that the sub-base has to be reinforced before the asphalt mixture is placed.
Several solutions are available to address this issue, including:
Undercutting requires excavating about three feet below the sub-surface bases and replacing the soil with a stronger aggregate.
Geo-grid comprises digging just about 16 inches below the sub-surface bases and reinforcing or binding the materials with a connective grid to hold them together.
Both procedures are intended to provide the same results—a firmer and more solid base for your asphalt—but in the asphalt paving business, geo-gridding is the more economical and less labor-intensive choice.
Step 05: Using a Binder
After establishing a sturdy and dependable base for the asphalt overlay, the binder that effectively keeps the asphalt and the sub-base together is applied.
Think of the binder as the foundation of the entire asphalt surface. Without a strong and completely dry binder, the whole structure might crumble.
Step 06: Laying Down New Asphalt
Before putting the new asphalt surface, let the binder settle. This could take 24 to 48 hours. After the sub-base and binders have fully cured and provided a stable foundation, it is safe to install the asphalt surface.
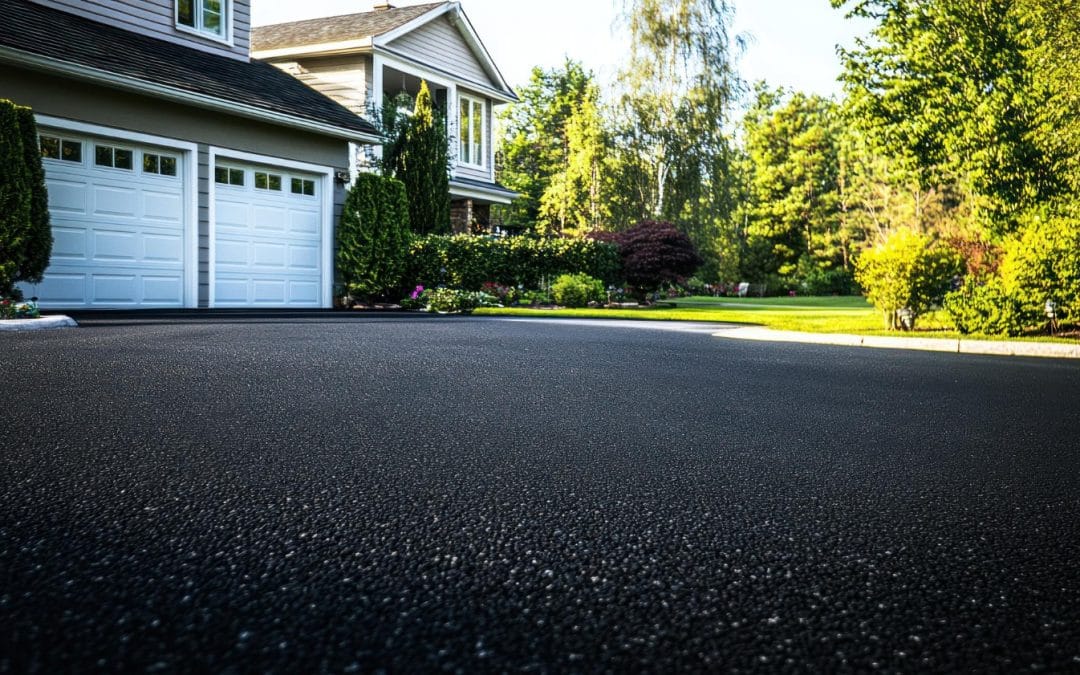
Asphalt pavement includes bitumen, oil, and fine sand. As a result, the finished product has a fresh, appealing, and shiny jet-black appearance that can improve your house’s curb appeal and attractiveness.
Step 07: Smoothing Asphalt Surface
It is highly uncommon to create an asphalt surface that is not connected to existing driveways, streets, or parking lots. As a result, asphalt paving contractors must devise a method to make the transition from old to new surfaces as smooth as possible. Most professionals install butt joints at which old asphalt or concrete pavement joins fresh asphalt pavement. These joints are then compacted and smoothened with the help of rollers.😄
American Paving is one of the most experienced asphalt paving companies in Charlotte. We are a family owned company that takes great pleasure in our work. We employ high-quality materials in our work and are dedicated to giving excellent service to our consumers.


